
How I Use a Dremel to Trim Dog Nails (Without Stress or Bloodshed)
A Complete Guide You Should Know
I have worked as a professional dog groomer for years, and the Dremel has truly transformed how I manage nail care. At first, I doubted its effectiveness, especially with nervous dogs, but learning to use it correctly changed my perspective.
If you’ve struggled with nail clippers, quickening your dog, or just dealing with the anxiety that comes with nail trims, a Dremel can be a game-changer. But only if you approach it the right way.
Why I Prefer a Dremel Over Clippers
I still use clippers occasionally, but I reach for the Dremel far more often now. The biggest reason is control.
With clippers, you’re making a cut—and if you misjudge the quick, there’s no undo button, which can cause pain or bleeding. With a Dremel, you’re gradually grinding the nail down, and you have more time to notice and avoid the quick.
I once worked with a rescue dog who had extremely overgrown nails that curled slightly inward. Clippers would have been risky. With a Dremel, I slowly reshaped the nails over a few sessions without causing pain. That’s when I fully trusted the tool.
Getting Your Dog Comfortable First
This is where most people go wrong. They turn the Dremel on and go straight for the paw.
In my experience, that almost always backfires.
Dogs need to get used to two things: sound and vibration. I usually start by letting the dog sniff the Dremel off. Then I turn it on for a few seconds at a distance just so they can hear it.
I worked with a young Labrador last spring who would pull away at the sound. So instead of forcing it, I spent a few minutes each day just turning the Dremel on and off near him while giving treats. Within a week, he stopped reacting completely.
Patience here saves you a lot of struggle later.
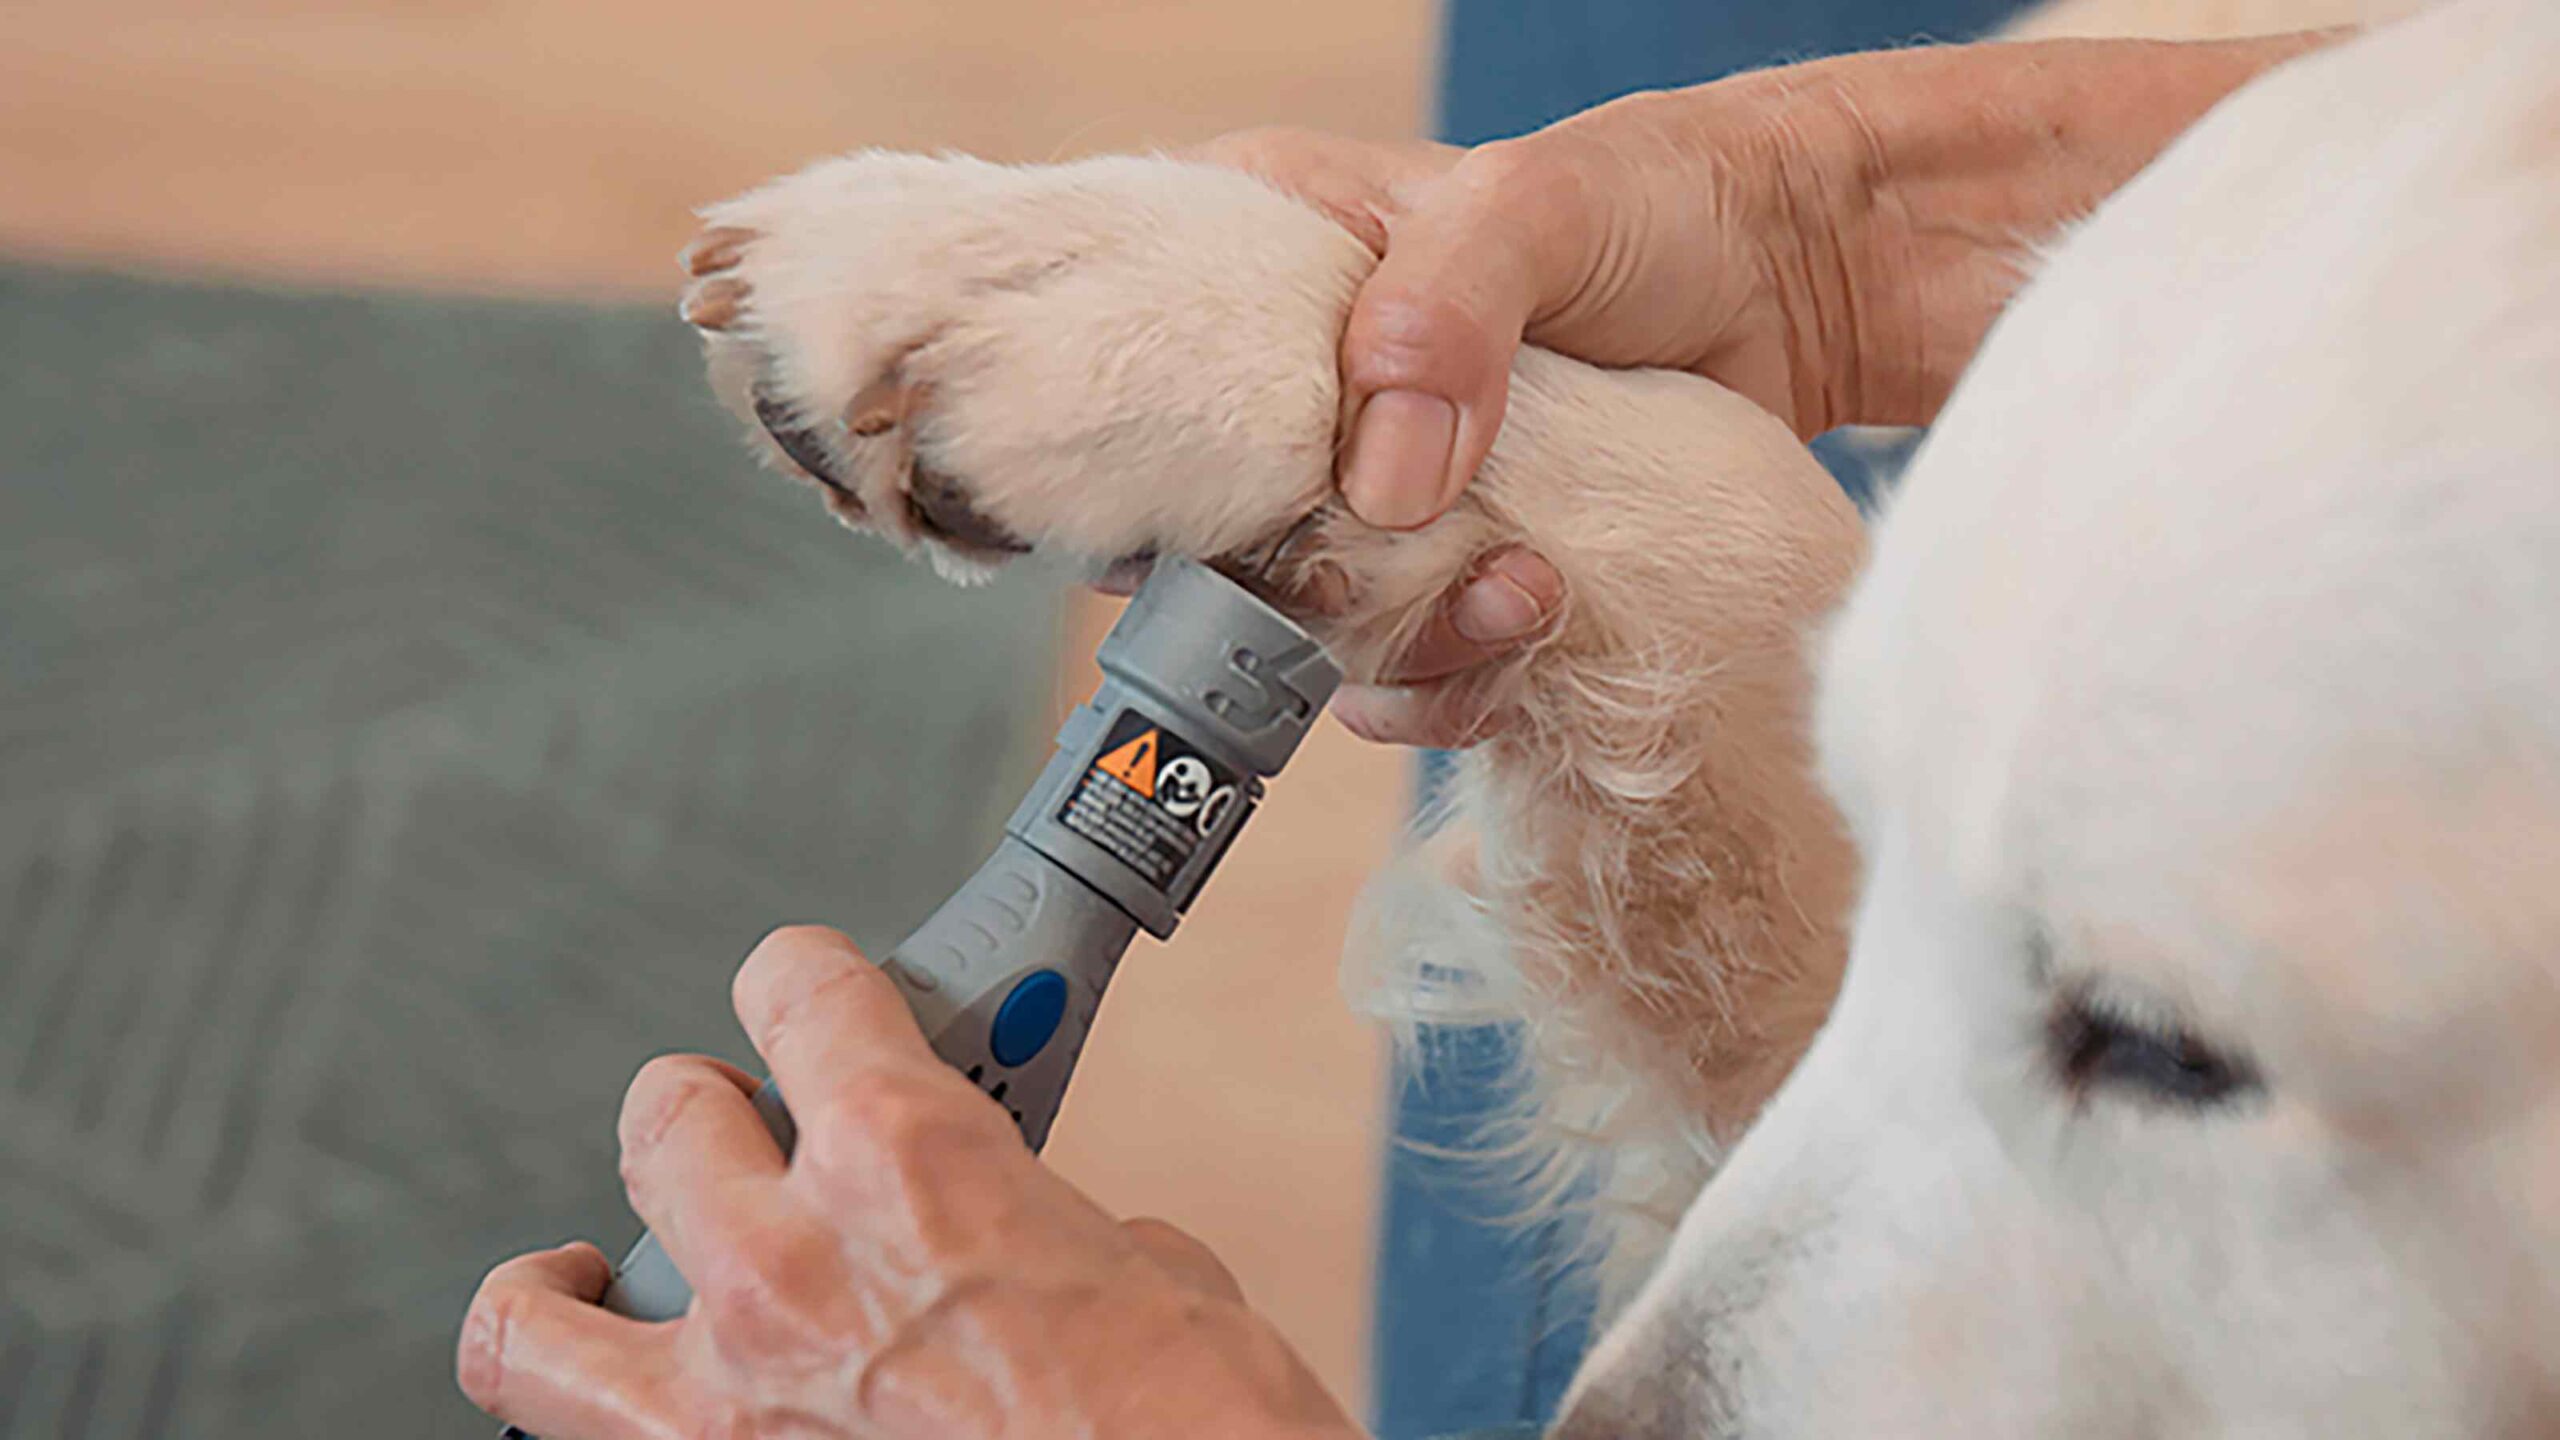
How I Actually Use the Dremel
Once the dog is calm, I hold the paw firmly but gently. You don’t want to squeeze, but you also can’t be hesitant.
I bring the Dremel to the nail at a slight angle and touch it for a second or two each time—holding it in one spot for too long is a common error.
Short bursts are key.
Don’t try to finish the nail all at once. Gradually shape it, rotating around the nail to smooth edges as you go.
One detail that took me time to learn: heat builds up quickly. If you keep the Dremel on a single nail for too long, it can become uncomfortable for the dog. I usually alternate between paws to avoid that.
Knowing When to Stop
This is where experience really matters.
As you grind down the nail, you’ll start to see a darker center appear—that’s the quick getting close. On light-colored nails, it’s easier to spot. On dark nails, you have to rely more on caution.
I had a client bring in a small terrier whose previous groomer had clipped him badly. The dog flinched at every touch after that. With him, I took an extremely conservative approach—just a little grinding each visit. Over time, the quick receded, and we were able to get the nails back to a healthy length.
That’s something many owners don’t realize: regular grinding can encourage the quick to shrink back over time. However, grinding too close, too fast, or ignoring signs of discomfort can hurt your dog, so proceed slowly and stop if your dog pulls away or shows signs of distress. Rushing is a big issue. Many think nail trims take five minutes. For some dogs, maybe—but not most.
Another mistake is pressing too hard—let the Dremel work. Pressure creates heat and discomfort.
I also see people skipping desensitization altogether. They assume their dog will “just deal with it.” That’s how you end up with a dog that hides when you bring the tool out.
And finally, poor positioning. If your dog is squirming or standing awkwardly, you’re setting yourself up for a bad experience. I often work with dogs on a non-slip surface or even on my lap for smaller breeds. Stability makes everything easier.
A Few Practical Tips From Experience
- Start on the lowest speed setting. Hi, start on the lowest speed setting. High speeds can be overwhelming and may cause burns more easily. Always check that your Dremel’s attachments are secure before starting. the beginning. Even one or two nails is progress.
- Use treats generously. I’ve turned many “difficult” dogs into cooperative ones by pairing the Dremel with rewards.
- Check your sanding band regularly. A worn band doesn’t grind effectively, leading to increased friction.
When I Don’t Use a Dremel
Despite how much I like it, there are situations where I switch back to clippers.
Very small puppies often do better with quick snips; their nails are soft and tiny. Extremely anxious dogs may need slower introductions before trying a Dremel.
I’ve also had older dogs with arthritis who don’t tolerate having their paws held for long. In those cases, speed matters more than precision, so I adapt.
The Difference It Makes
Once you get the hang of it, using a Dremel feels less like a chore and more like routine maintenance.
I’ve seen dogs go from resisting nail trims entirely to calmly sitting through a session. Owners often tell me they avoided trimming nails for months because of fear—both theirs and the dog’s. With the right approach, that fear fades.
It’s not about mastering a tool. It’s about understanding your dog, working at their pace, and building trust one nail at a time.